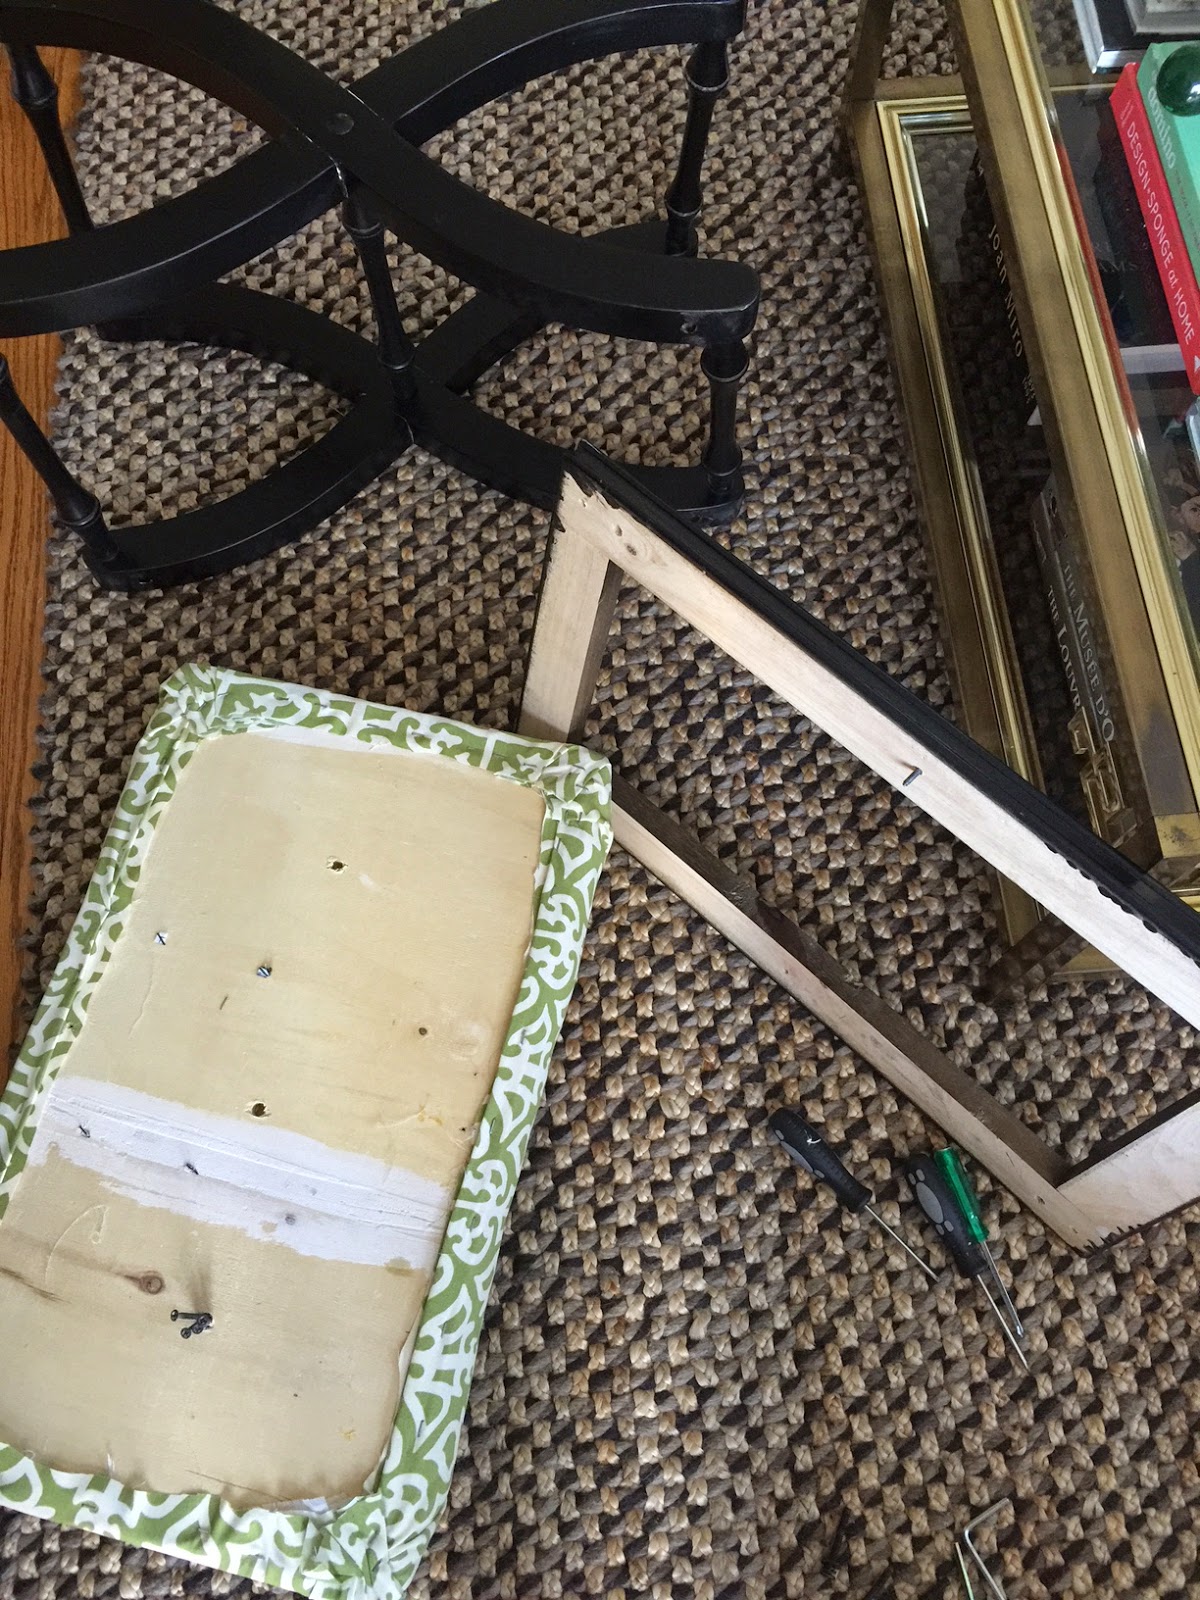
I got my hands on this x-bench four years ago. Instantly reupholstered the seat because the fabric was worn and outdated. Other than that, I left it in it’s black finish, as it moved around the house, until I was ready to commit to it’s new look for my living room.
Here is the bench before. Like always I forgot to take a picture of it until I already began to take it apart for paint and upholstering.
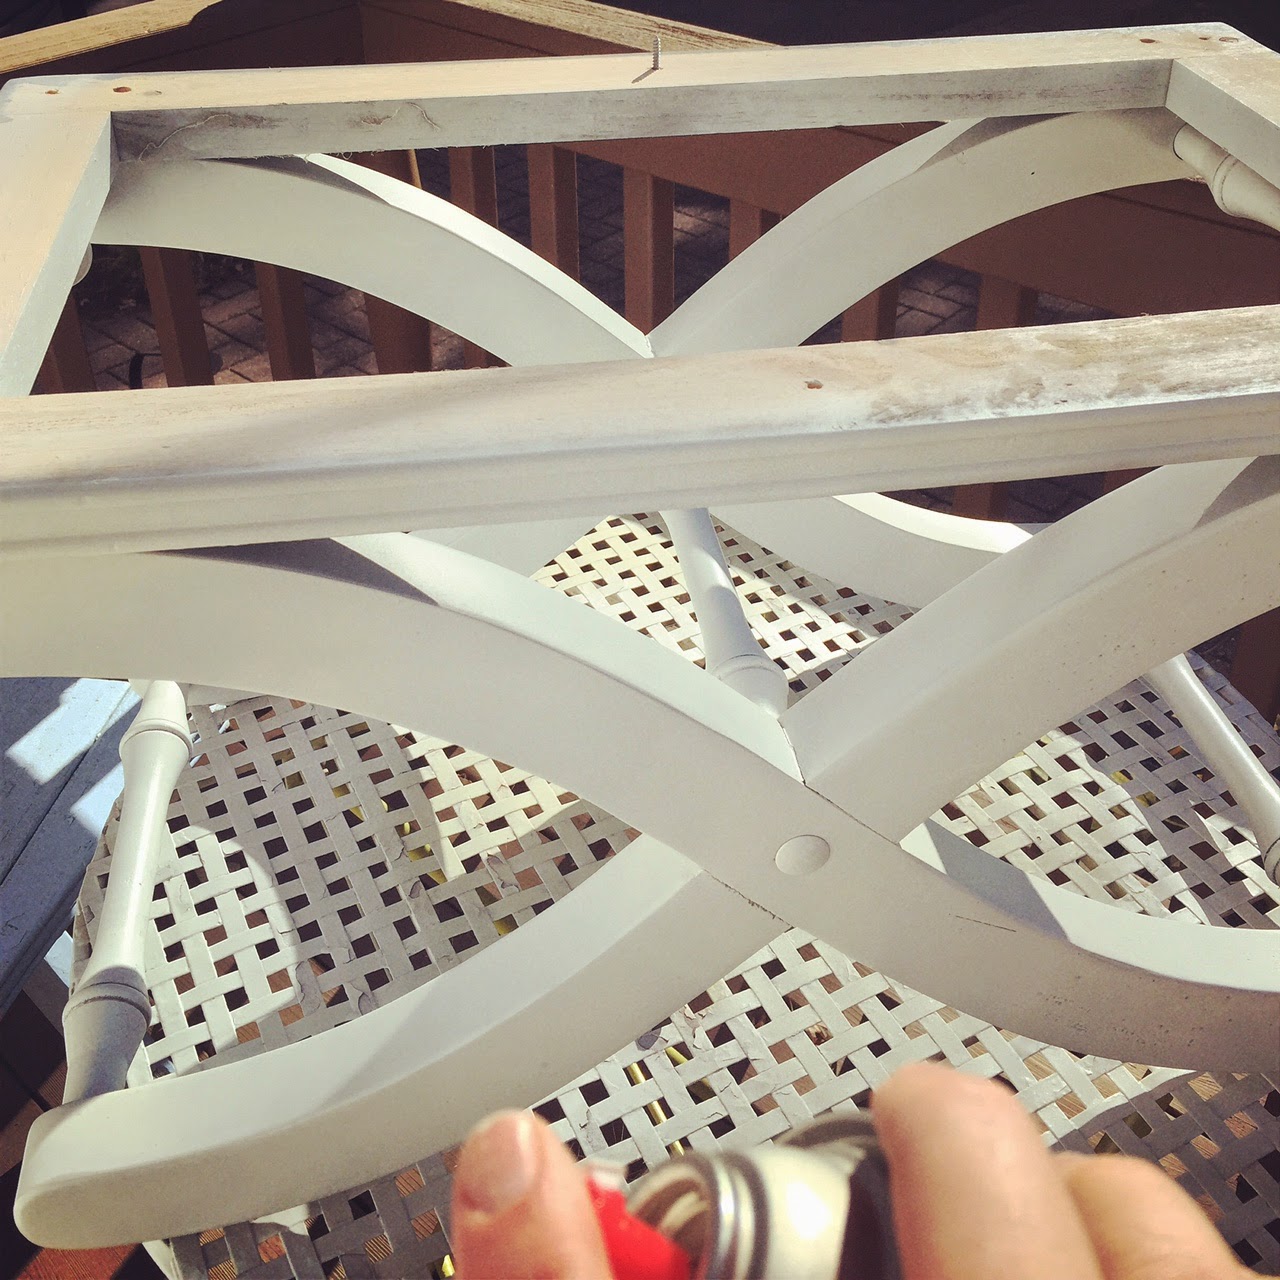
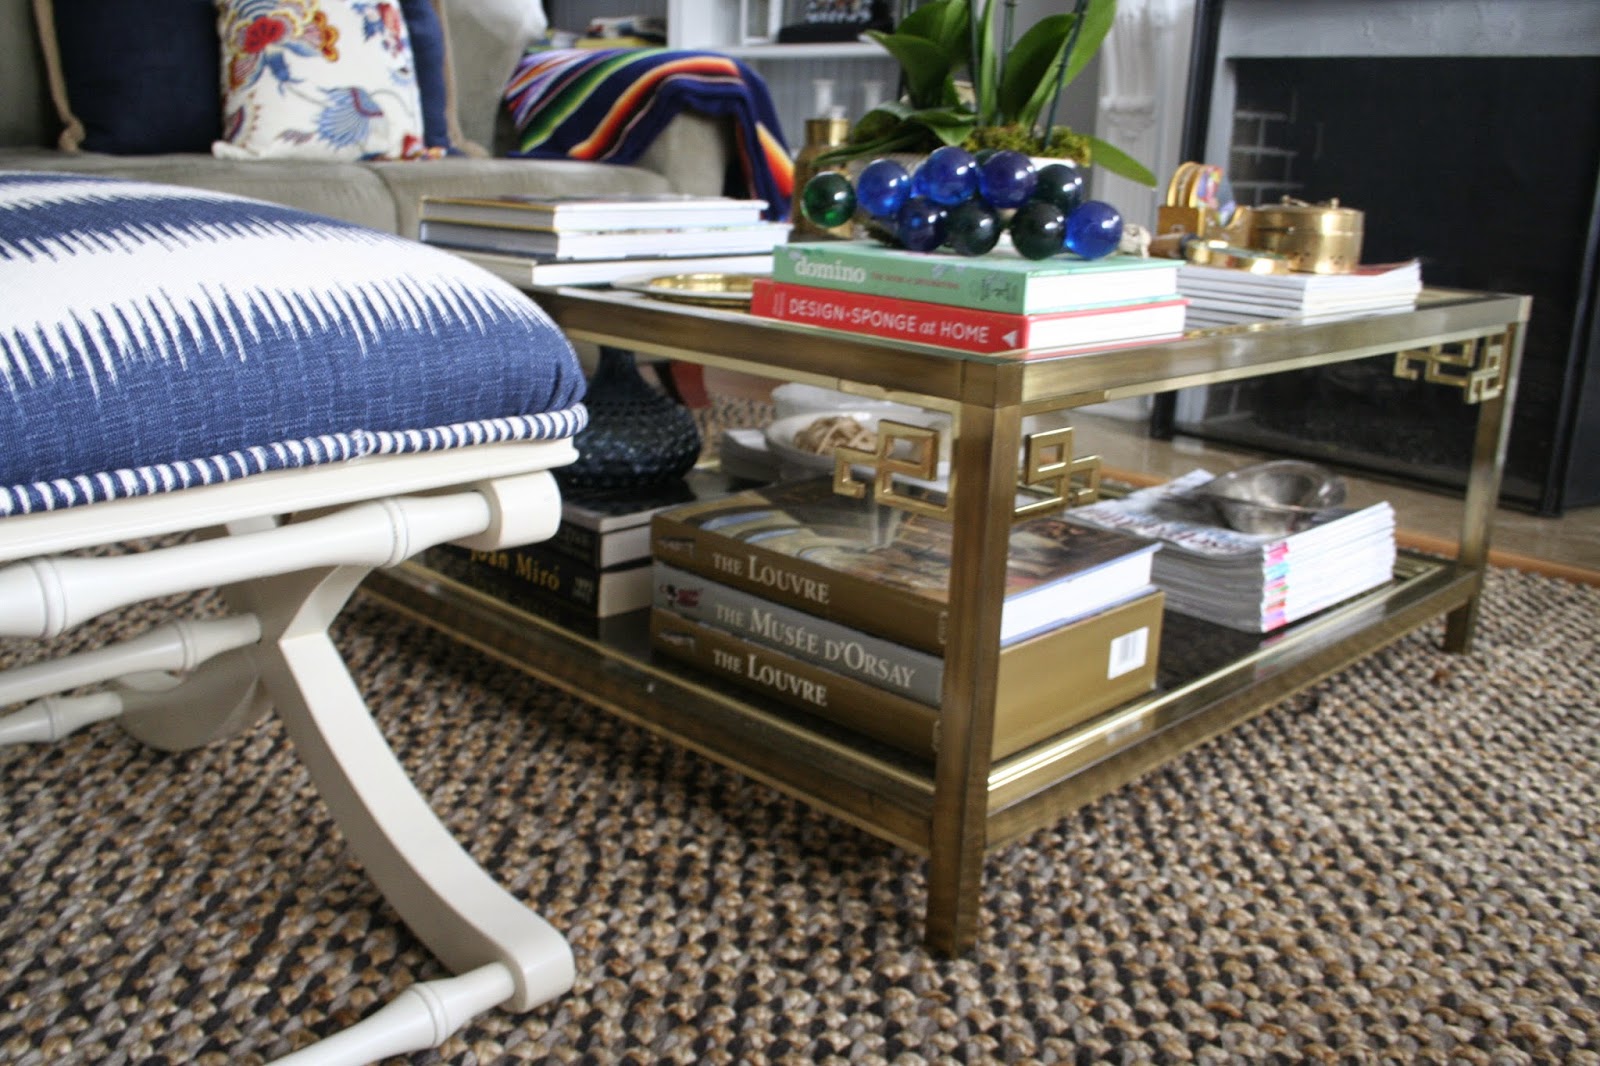
I knew I wanted a lighter finish but not white. I found a great mix of Krylon paint. A little satin white with some almond did the trick.
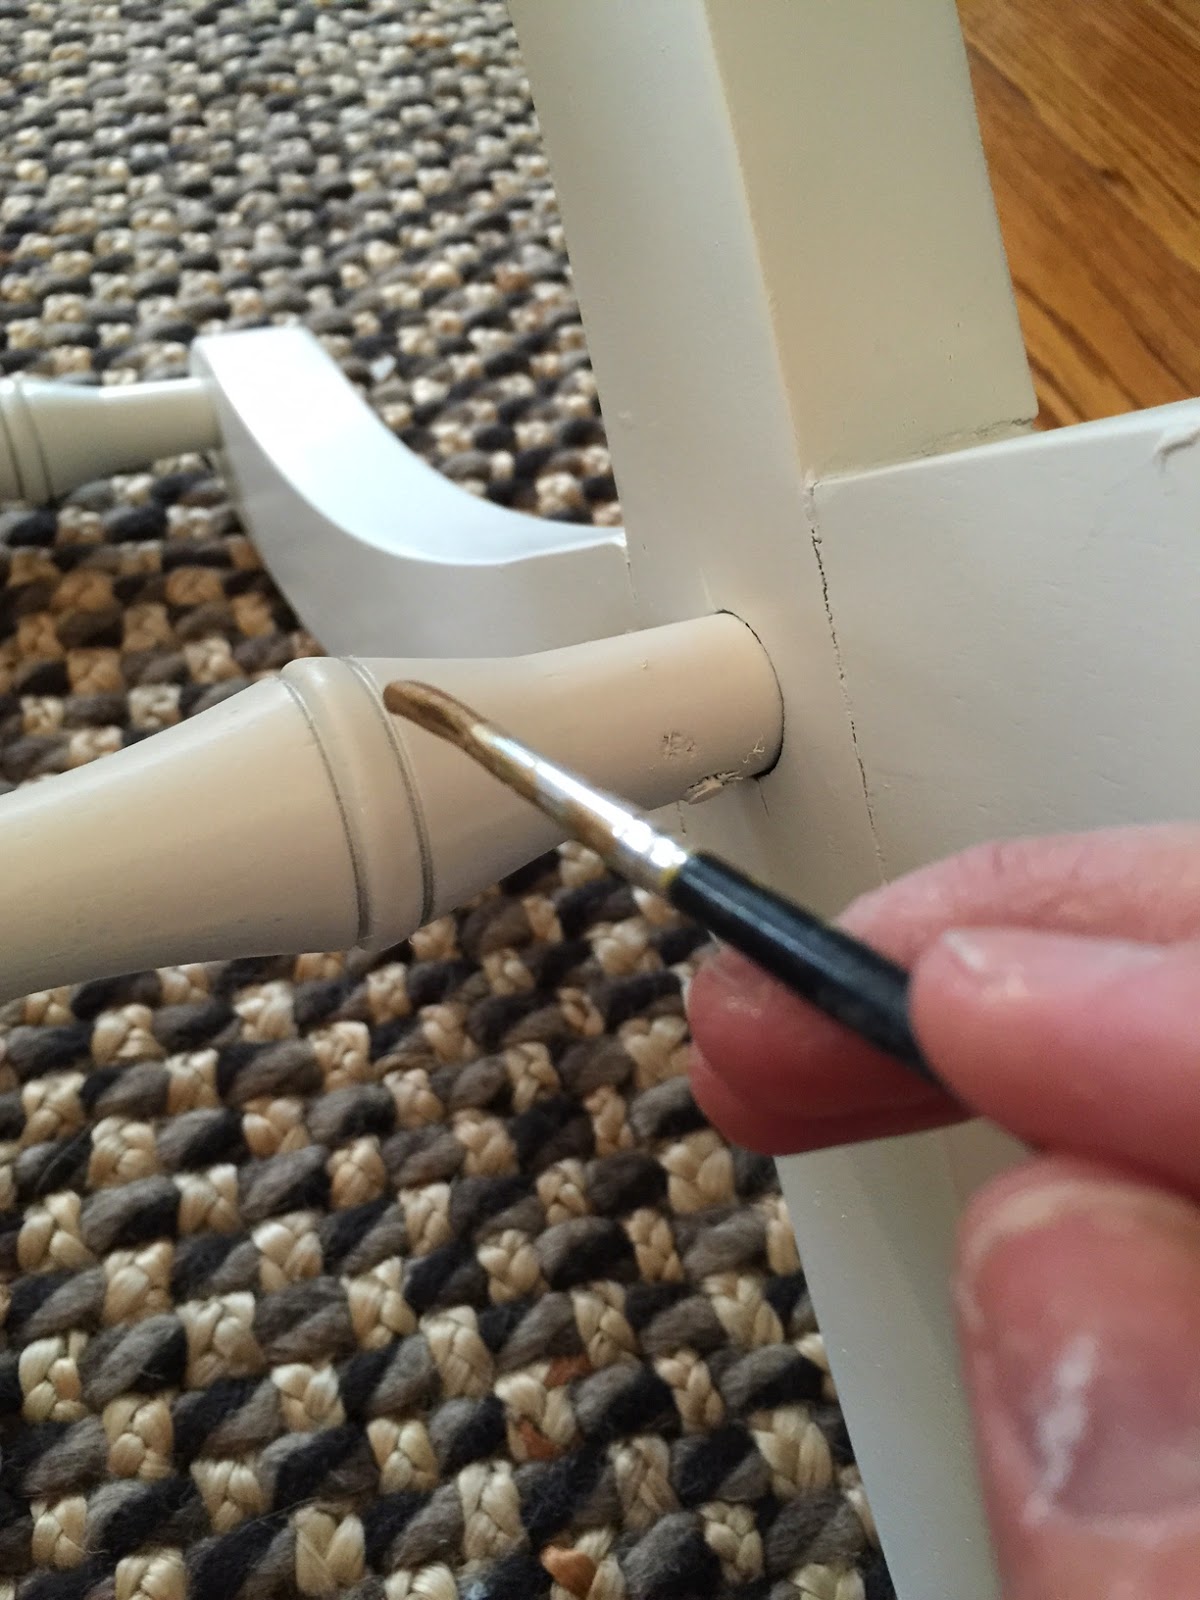
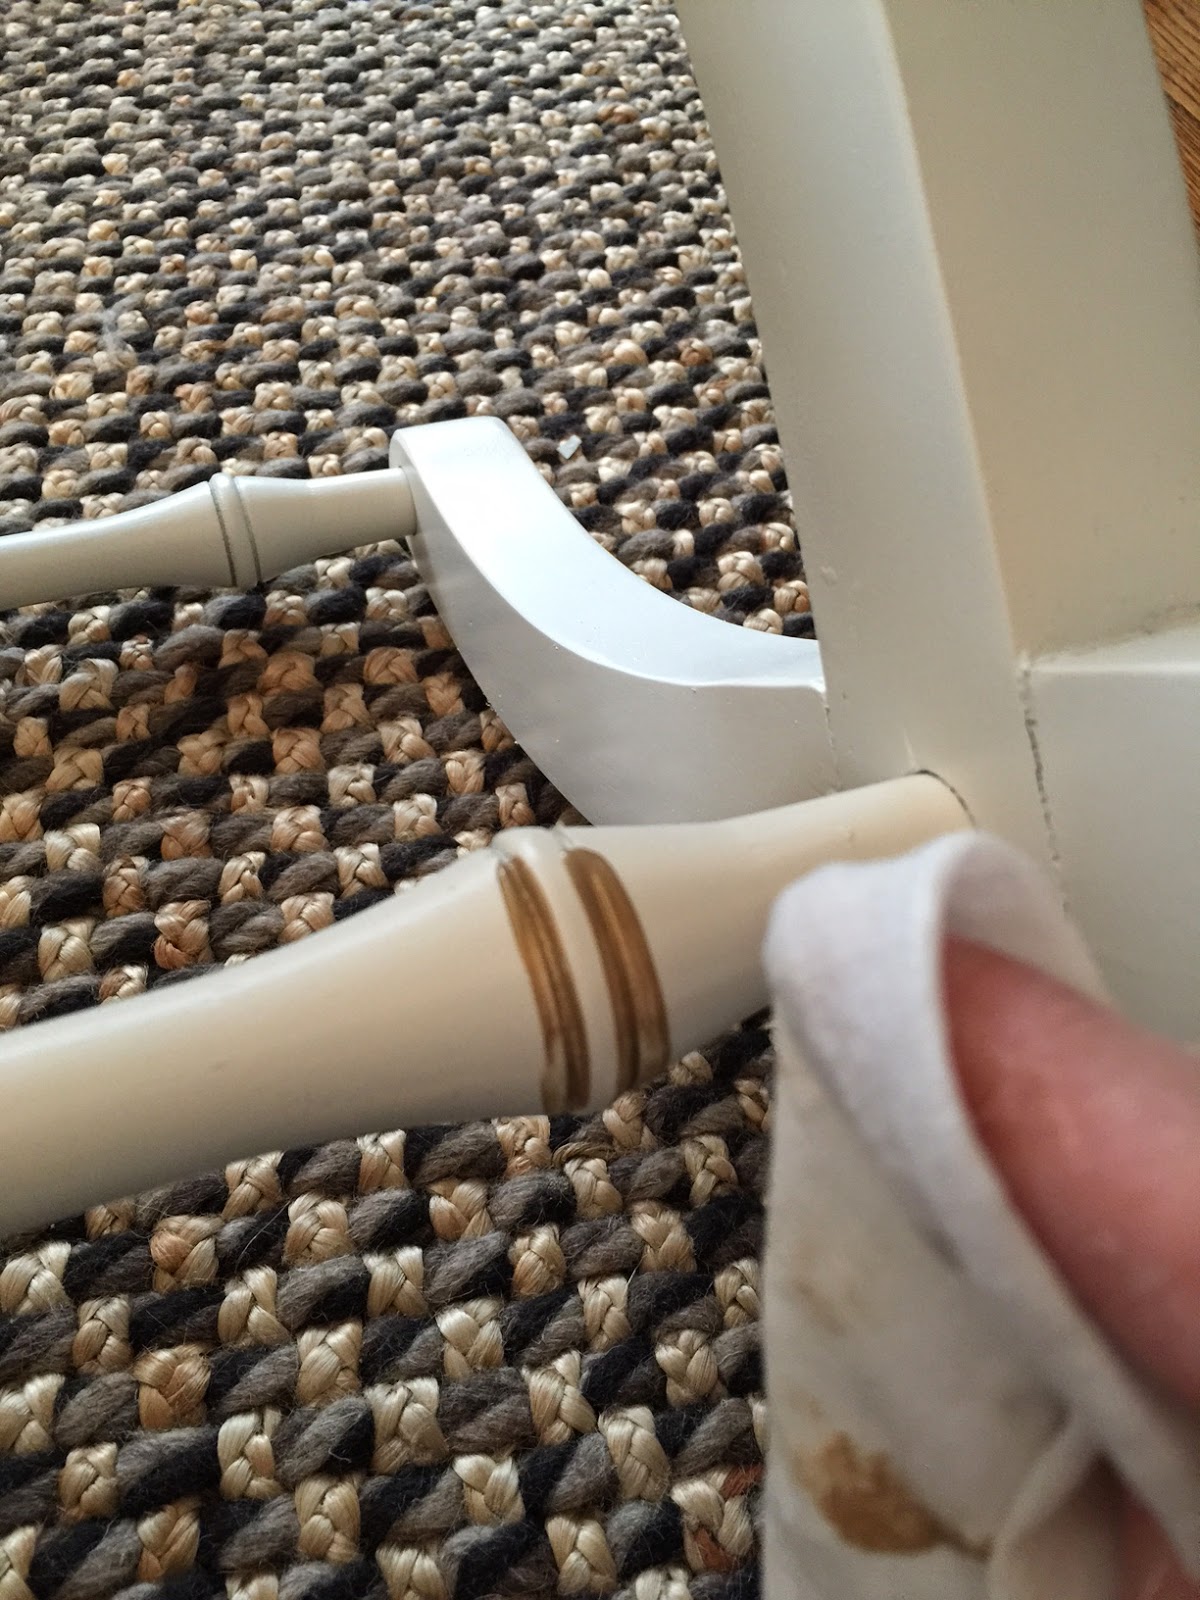
I added a little detail in the crevices. With some gold paint I hand-brushed a few areas on the legs and then quickly removed any extra with a wet wipe.
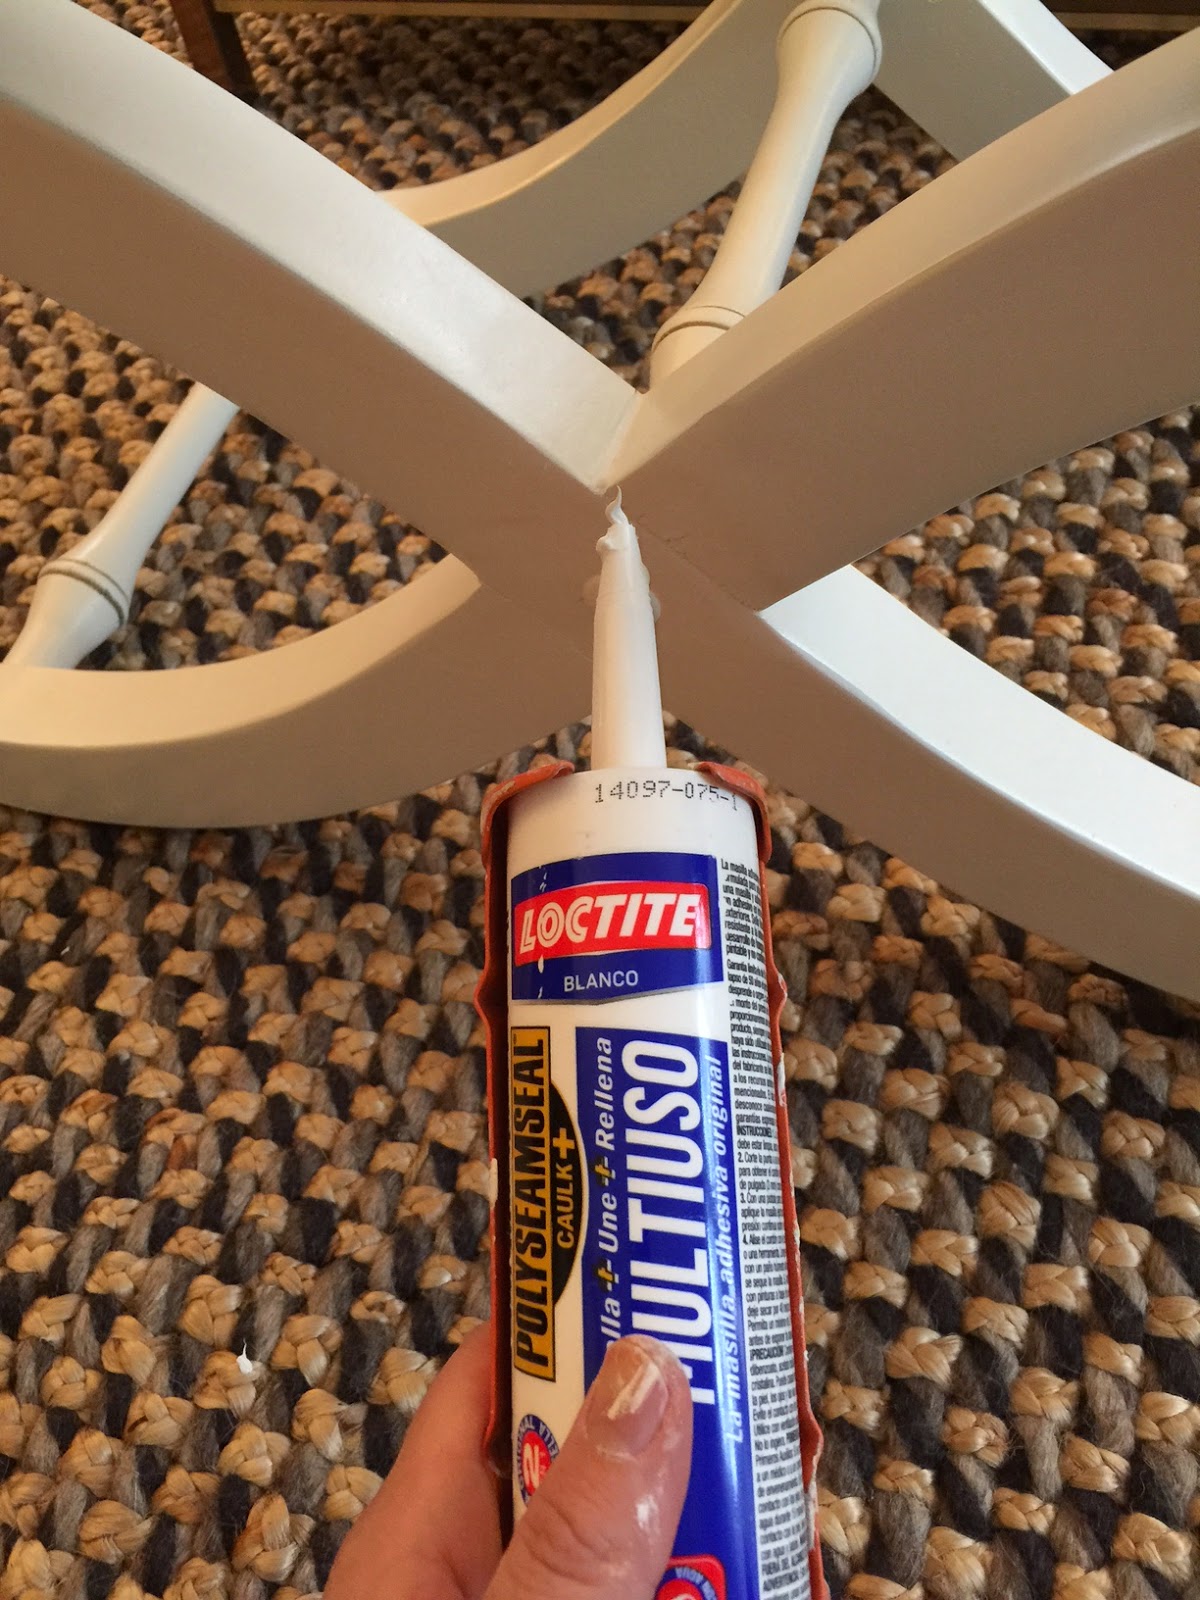
After painting, I noticed all the cracks in the wood. I knew I had one easy fix, caulk. I think caulk is any DIY’ers best friend. I use it for everything.
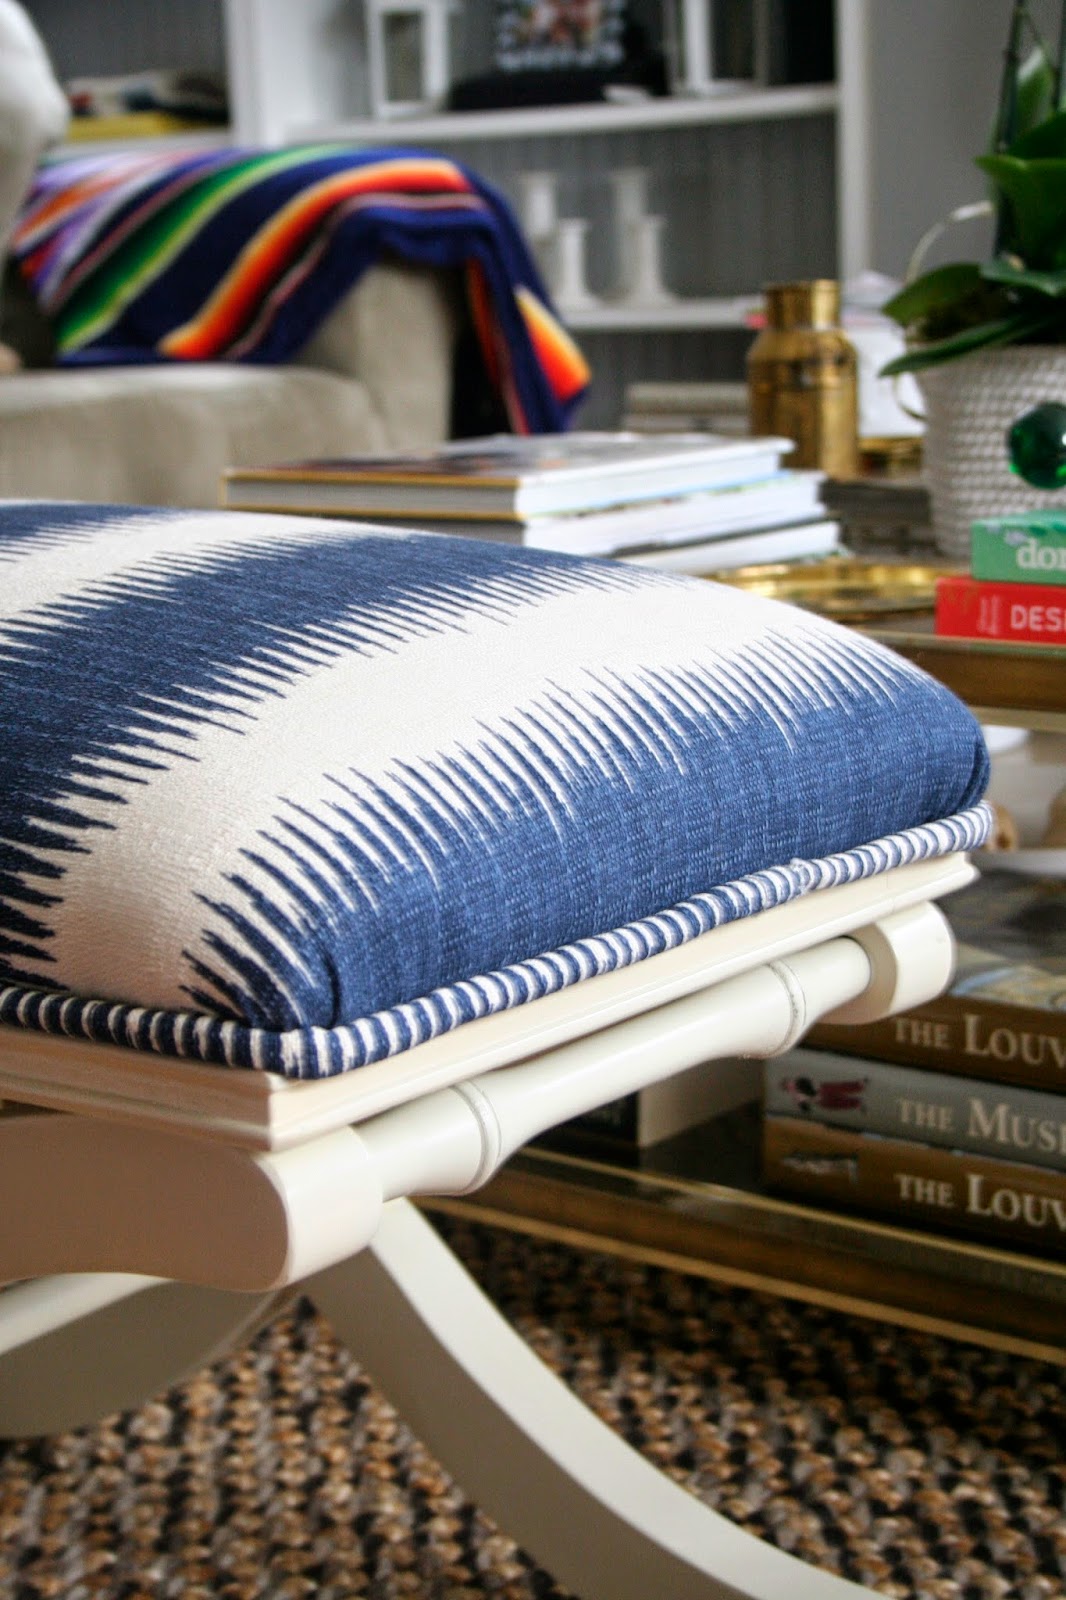
Finally, after four years, my x-bench is complete. It was also my first attempt at cording. Lets just say there were a lot of swear words expressed, but, three attempts later, I had cording I was willing to sew on to my bench.
I fell in love with this Jiri Nina Navy Birch Fabric. It was just perfect.
