There is this great vintage rental company called, Shadow Box Dreams. A few months ago, I attended a workshop and noticed these perfect vintage vignettes that were provided by Shadow Box. Ever since then, I have not only followed them on instagram, but I want to have an event just so I can rent from them. Well, they were clearing out some inventory and, I saw these x-benches for sale, $35 for the pair. Umm, yeah, I’ll grab these. Now, they need some love but, I was more than willing to love them. Elaine, the owner, is so sweet to work with and even delivered them for me on a very cold night. Very cold! All I need to do is a little paint and then I can begin Reupholstering X-benches.
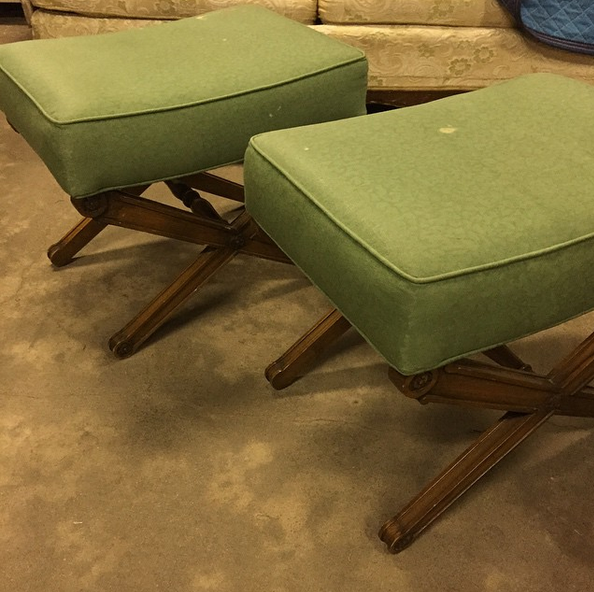
Reupholstering X-benches
These beauties are now in my hands and I have started the reupholstering process. These were beautifully and perfectly reupholstered some time ago and needed to be redone. I first removed the fabric and discovered how well kept the “insides” were. Also, it ONLY took me 3 hours per bench (insert sarcasm) to remove about 1000 staples.
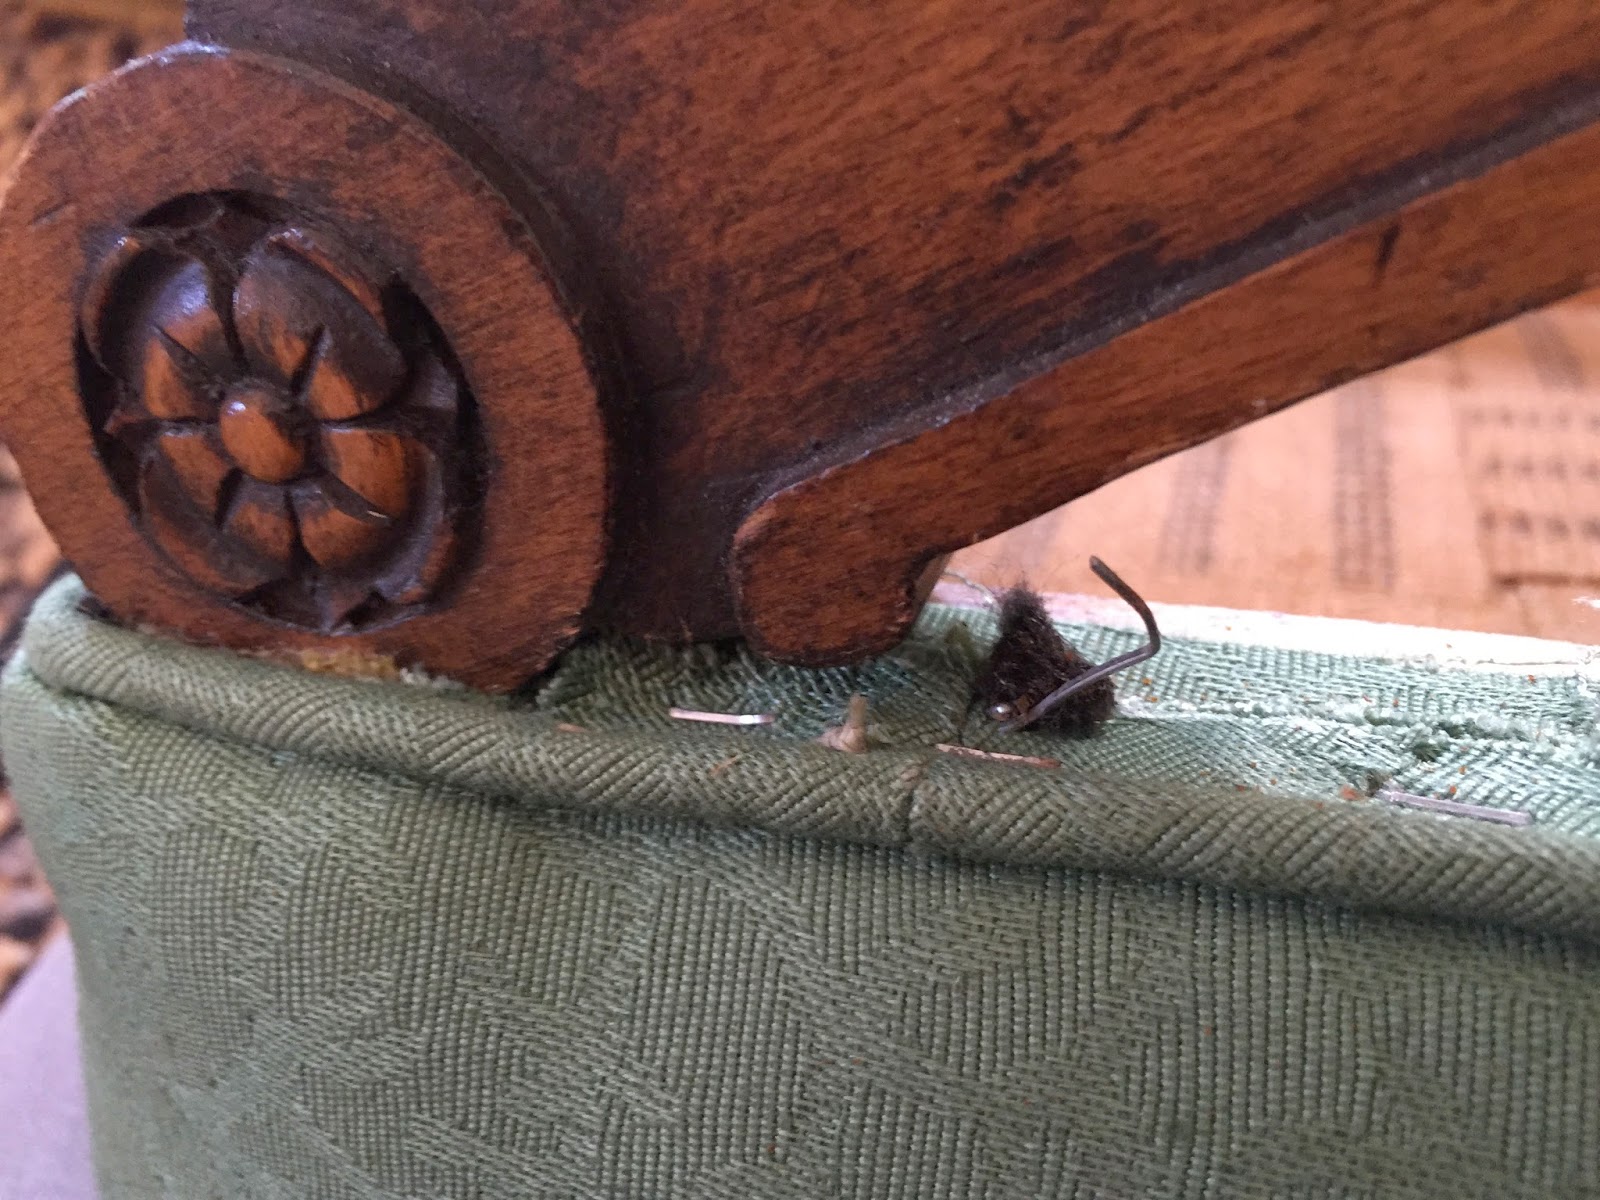
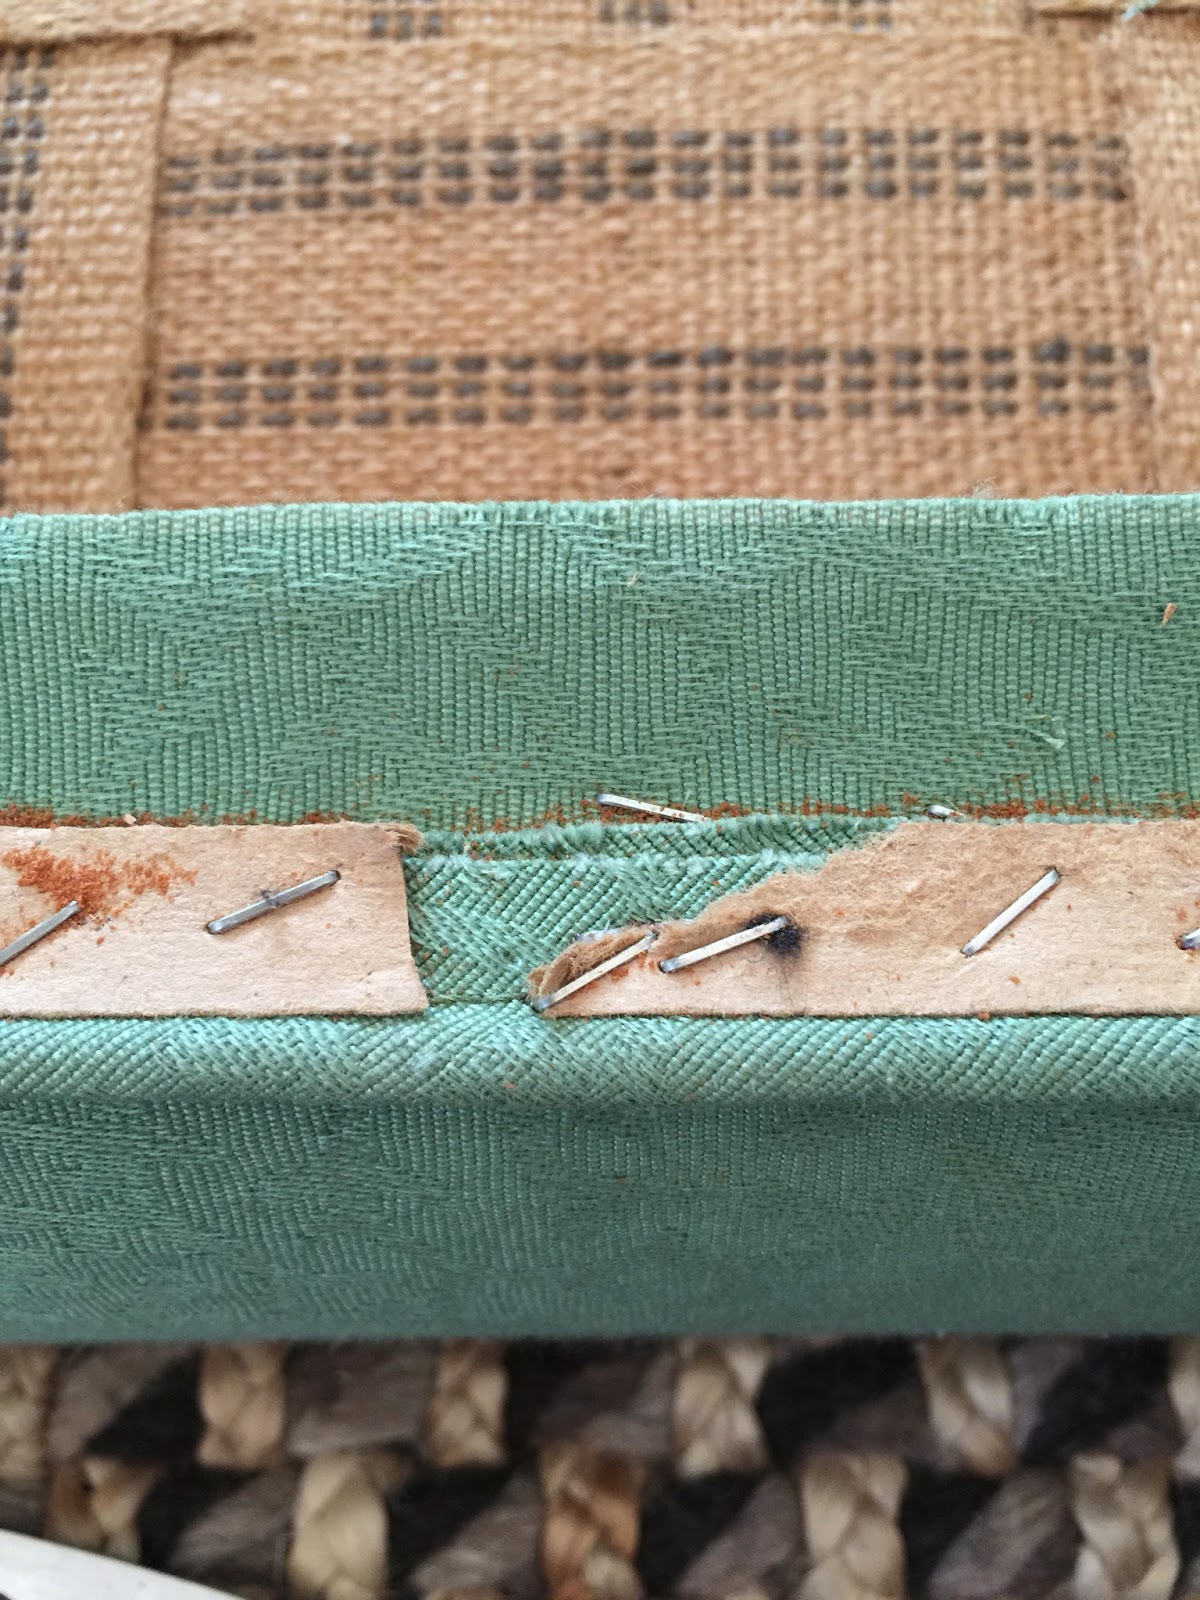
Truly, there were 3 layers of staples. The first layer for the protective fabric under the chair. Then, the second layer of staples for the cording. Finally, the third layer for the actual fabric attached to the bench. Not joking, I think I removed 1000 staples.
Now, it is time for the fun to begin. I know I want to paint the legs so I very securely covered the entire bench in plastic. I did this to make sure I can paint every thing that is wood on the bench. I do plan on replacing the polyester batting, but left it on for future measurement purposes.
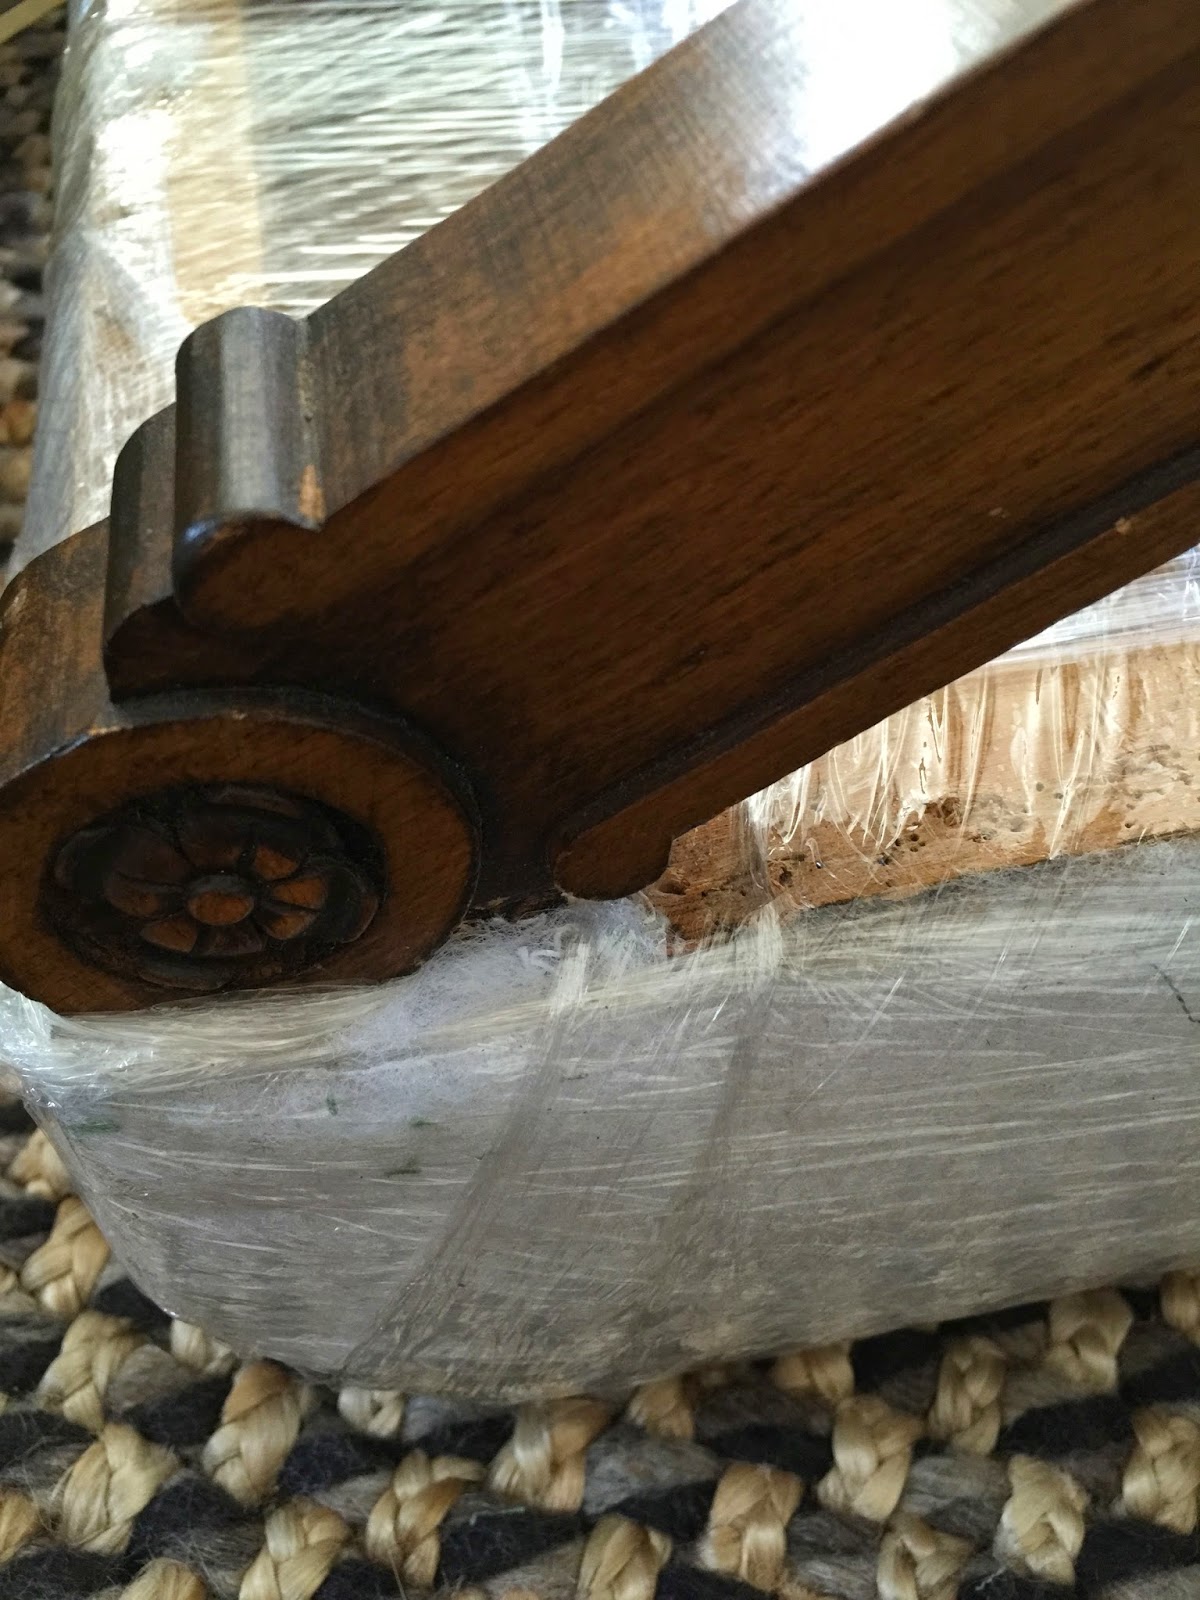
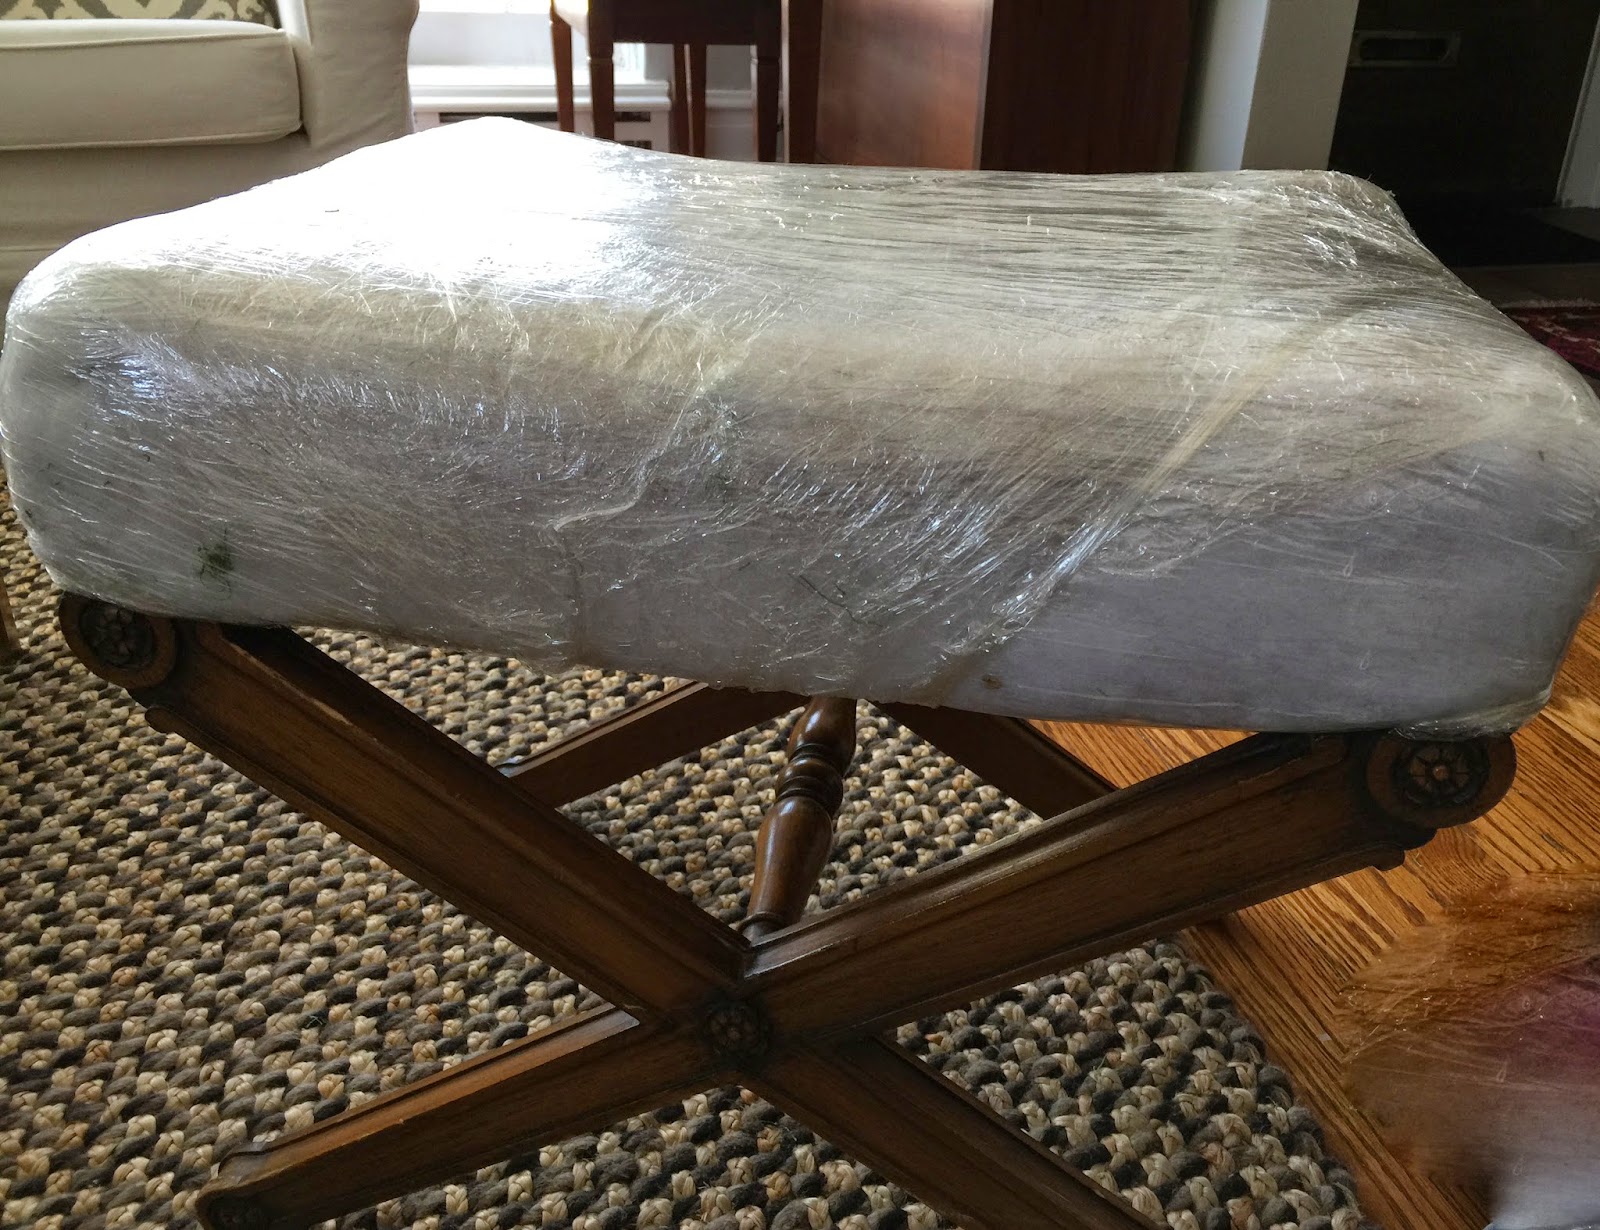
Stay tuned.